Two-Factor Authentication (2FA) for VPN Remote Dial-In connection is supported on Vigor Router now. We can activate 2FA authentication on the existed VPN profiles to strengthen the security of the VPN connection without changing the origin authentication method on each VPN profile. For helping the network administrator to deploy the 2FA VPN setting for multiple VPN users easily, Vigor Router supports activating the 2FA secret from the VPN Client.

This document will demonstrate how to activate two-factor authentication on your remote dial-in VPN connection from the VPN Client.
Note:
- Support Model: Vigor3910, Vigor2962, firmware version 4.3.2 or later; Other Vigor models support it since v4.4.2
- Smart VPN Client: Windows version 5.6.0, iOS version 1.8.0, MacOS version 1.5.0, Android version 1.3.0
- Support VPN Protocols: PPTP, SSL, IKEv2 EAP, IPsec Xauth, L2TP, OpenVPN, WireGuard
Router Setup
1. Go to VPN and Remote Access >> Remote Dial-in User, edit a VPN user profile to activate the Two-Factor Authentication.
a. Select Time-based One-time Password (TOTP). Vigor will generate Secret for this VPN profile automatically.
b. Click Reset to clear the Secret generated by Vigor Router
c. Click OK to save the setting.

Windows Smart VPN Client Setup
1. Open the Smart VPN Client, select the profile, and swift to Connect.

2. Confirm User Name and Password and click OK to dial up the VPN connection.

3. Smart VPN Client will pop up 2-Factor Authentication is required on this VPN connection after the first VPN authentication is passed.
Click OK to process the TOTP secret setup.

4. The TOTP Setup window will be shown.

5. Open an Authenticator App (e.g. Google Authenticator, Microsoft Authenticator, or TOTP Authenticator). Enter the Secret or scan the QR Code to create an account.
6. Enter the Validation code and click Verify. Click OK to Save the setting while seeing the Verify Success message. The Smart VPN Client will now set up the TOTP secret to the VPN server.

7. VPN connection is up and the VPN client can access the remote VPN network now.

8. After the above steps, the VPN user profile on the Vigor VPN server has been configured with TOTP secret for the 2FA authentication now. When the VPN client dials up the VPN connection next time, he needs to enter the 6 digit verification code displayed in the App to complete the VPN connection.

9. Before passing the 2FA authentication, we can see the VPN connection stays in the blue Waiting 2FA state on the router. The VPN client cannot access any hosts in the remote network for the moment.

iOS Smart VPN Client Setup
1. Open SmartVPN App, select the VPN profile and click Connect.
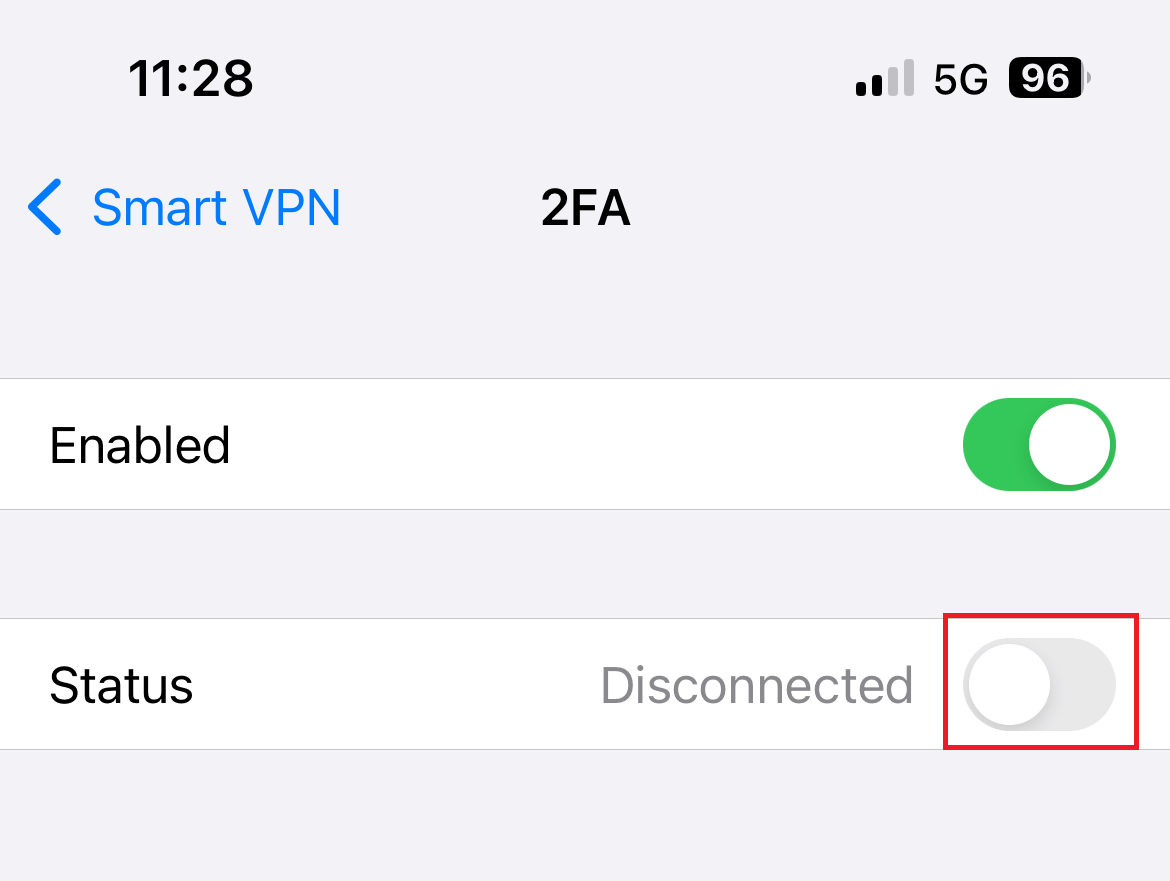
2. After the first VPN authentication is passed, the TOTP setup window will show.
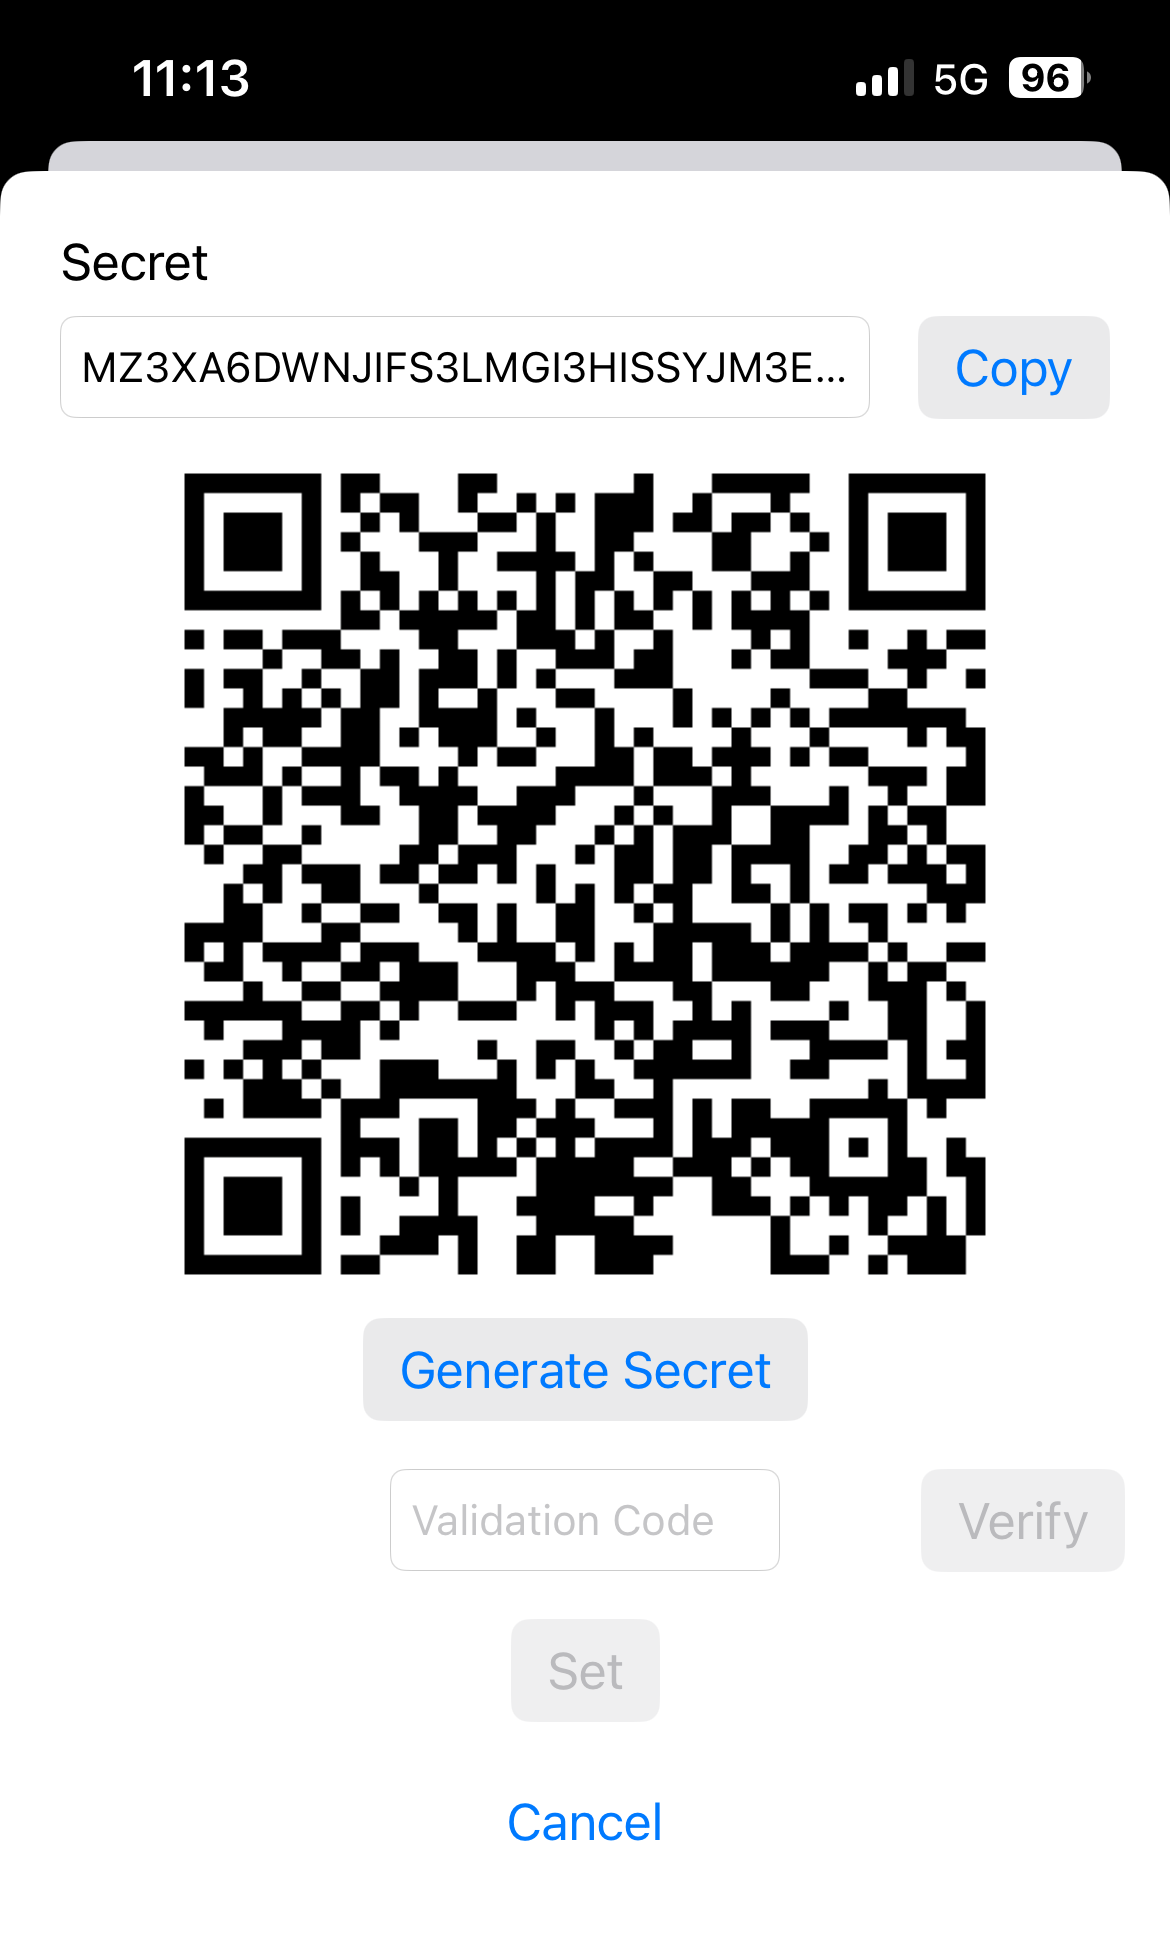
3. Open an Authenticator App (e.g. Google Authenticator, TOTP Authenticator). Enter the Secret or scan the QR Code to create an account.

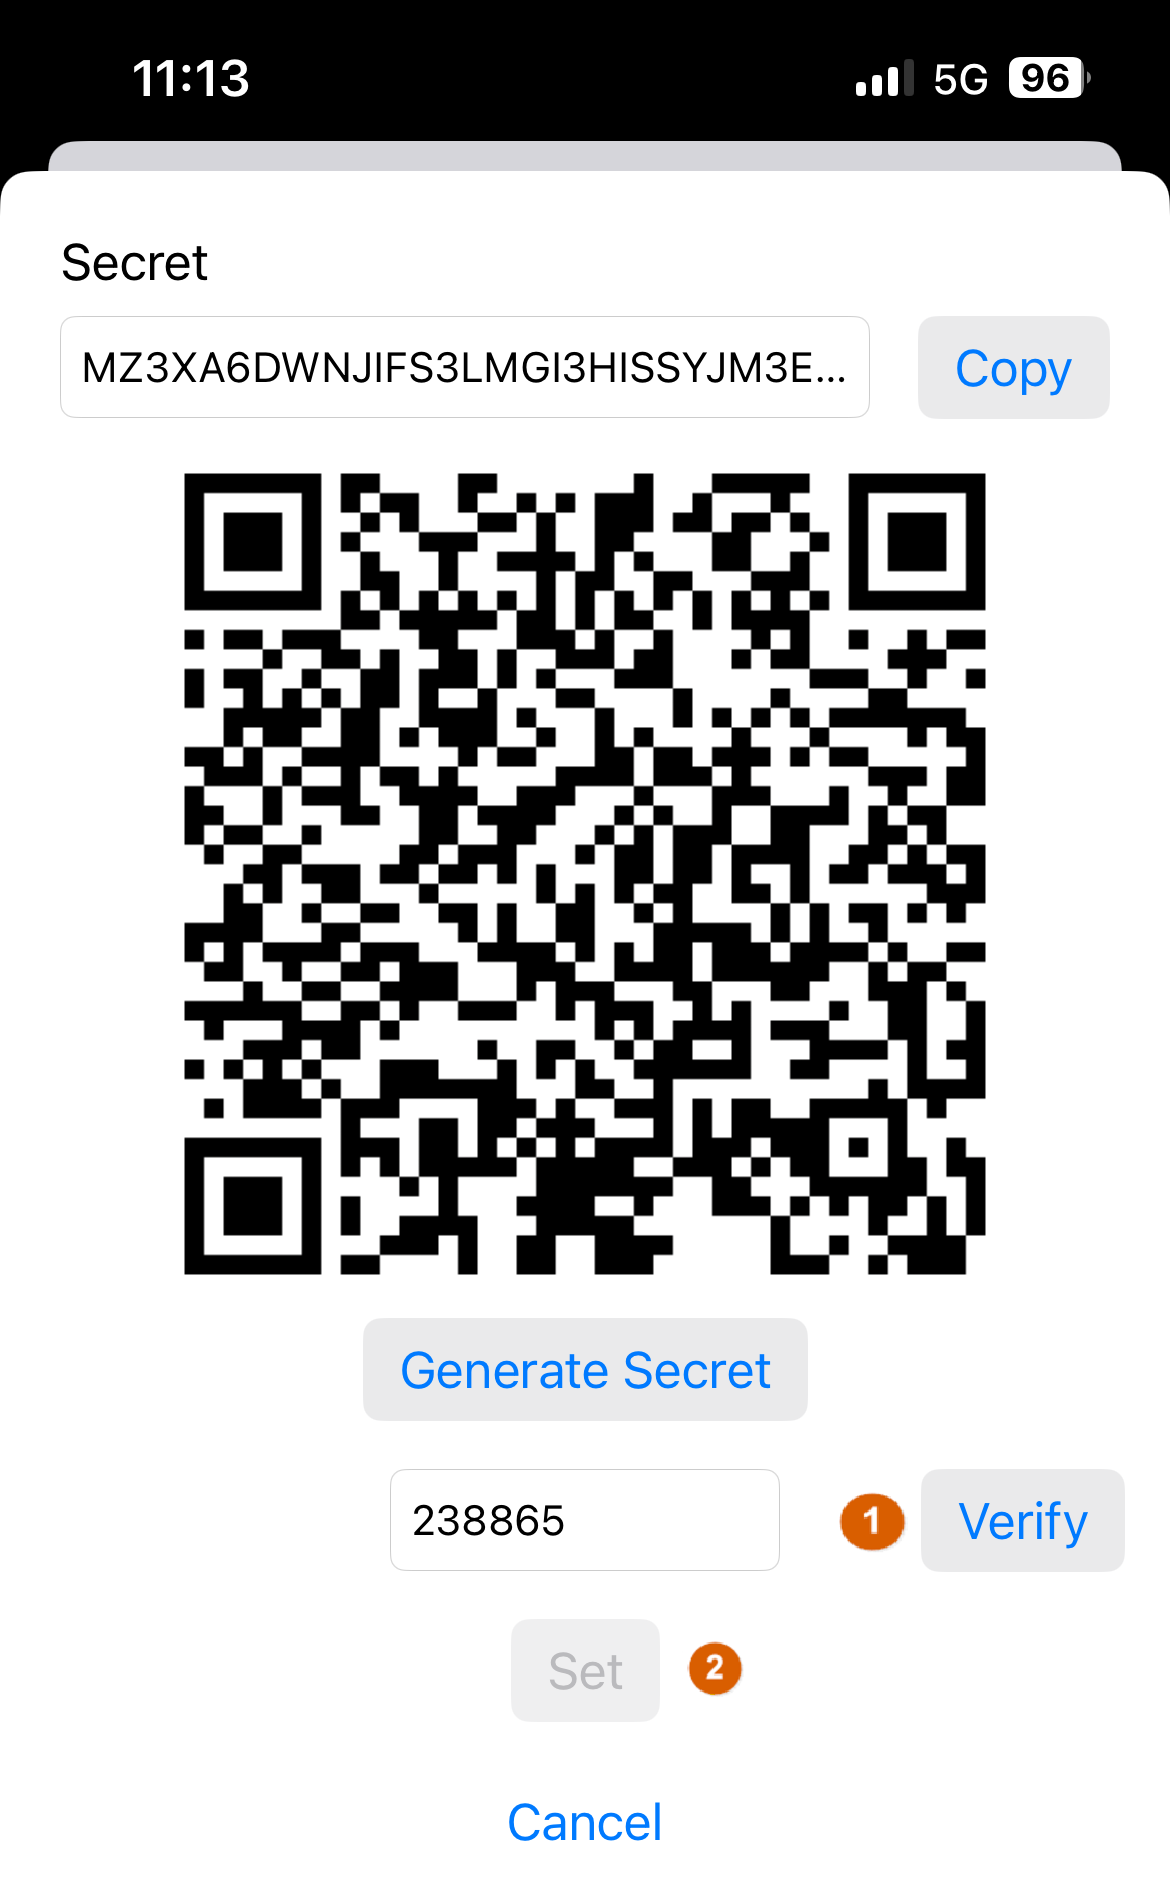
4. Enter the Validation Code and click Verify. If the verification is successful, the Set button will become clickable. Click Set to Save the setting to the VPN server.
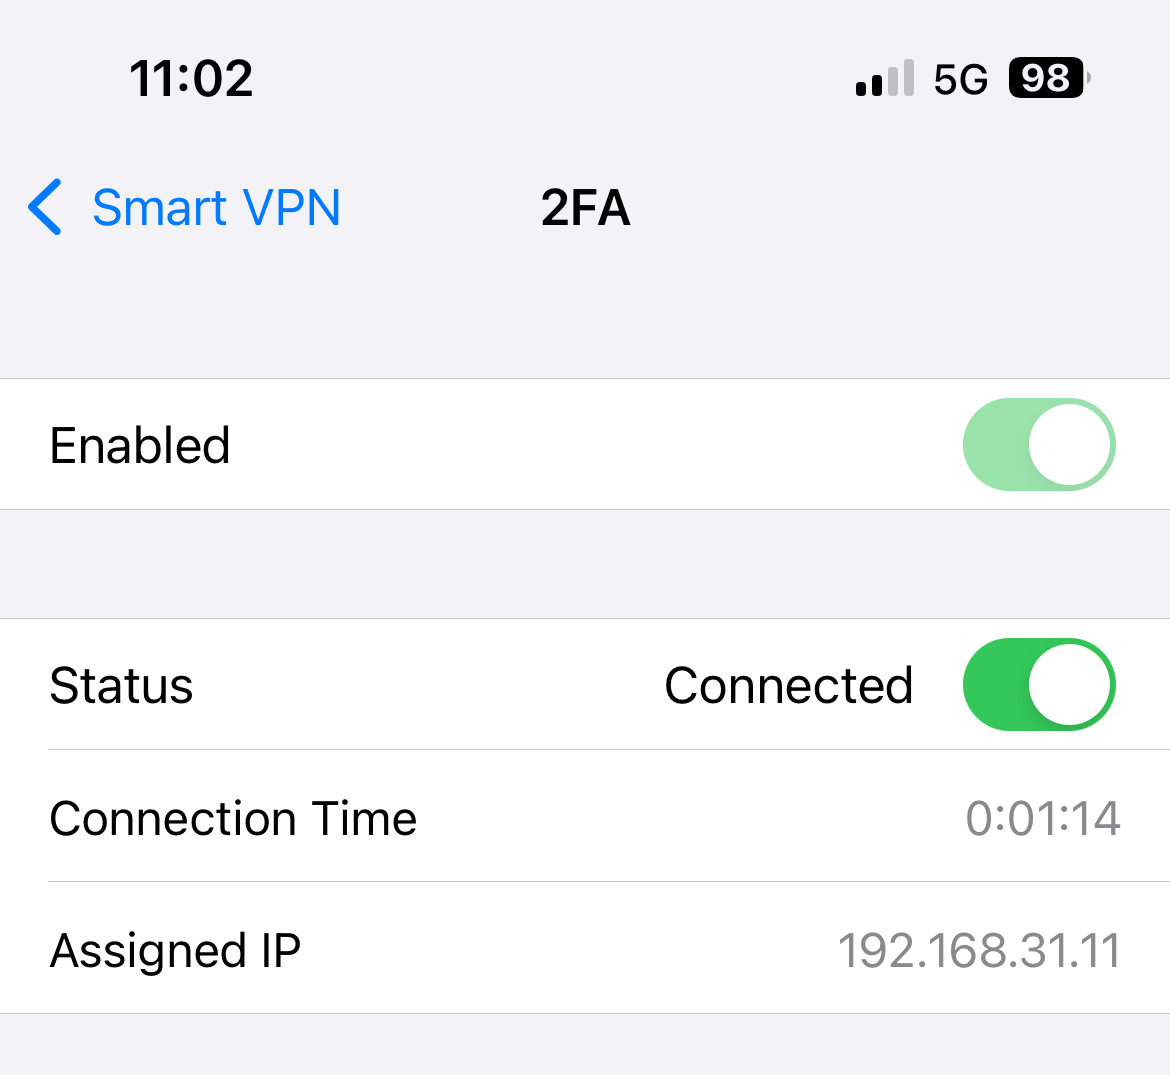
5. VPN connection is up and the VPN client can access the remote VPN network now.
6. After the above steps, the VPN user profile on the Vigor VPN server has been configured with TOTP secret for the 2FA authentication now. When the VPN client dials up the VPN connection next time, he needs to enter the 6-digit verification code displayed in the App to complete the VPN connection.
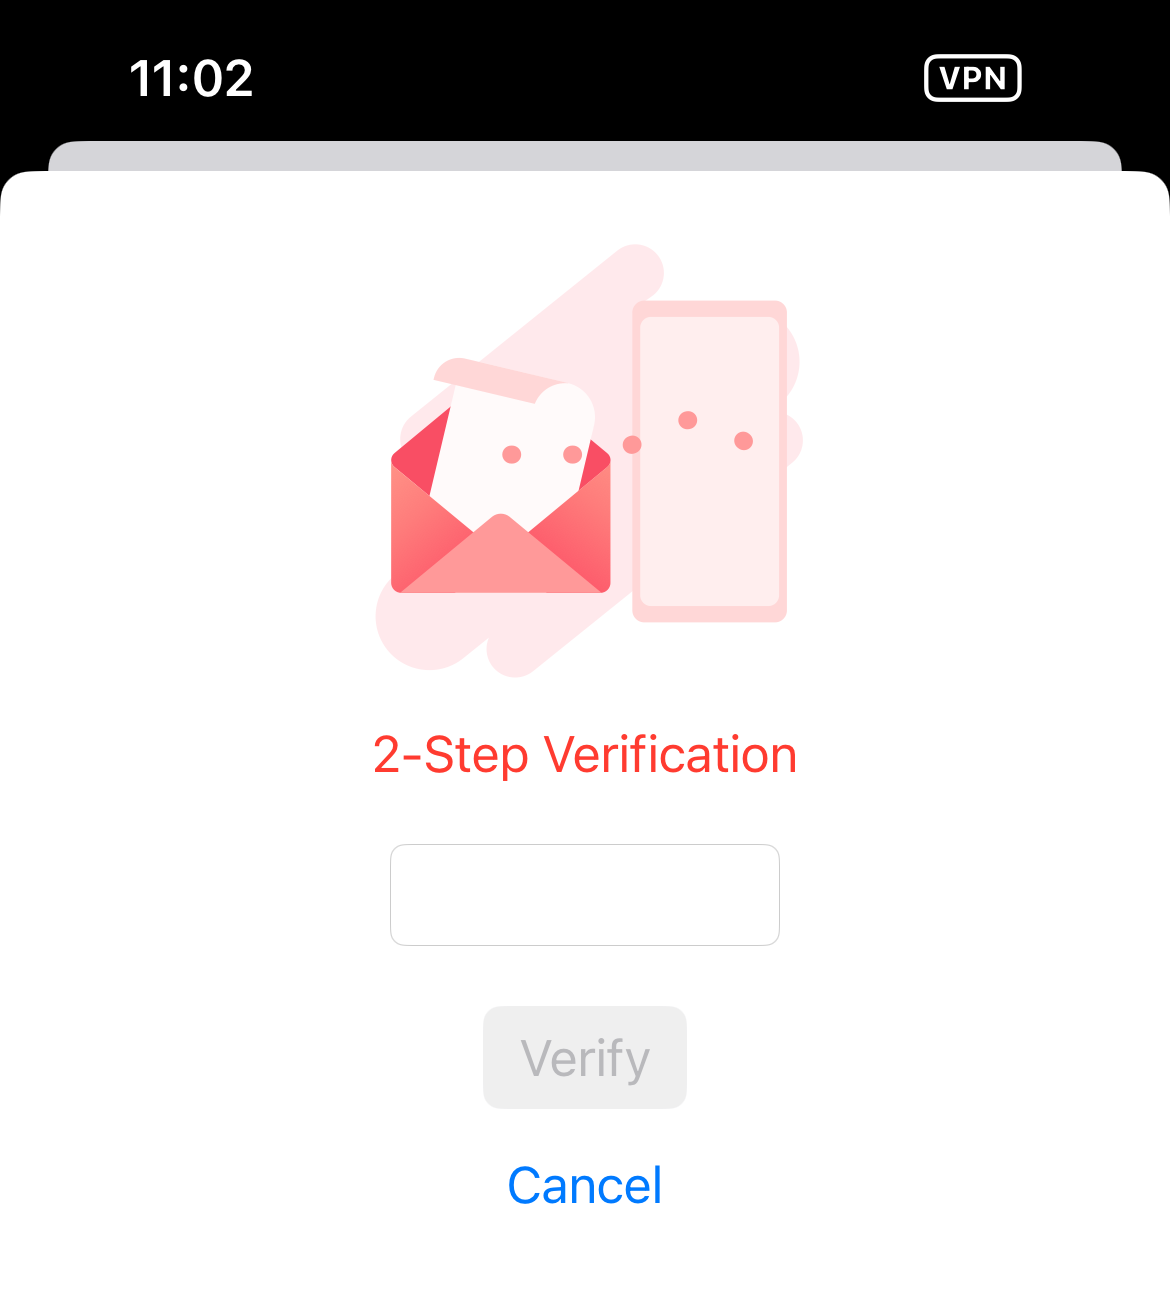
MacOS Smart VPN Client Setup
1. Open SmartVPN App, select the VPN profile and click Connect.

2. After the first VPN authentication is passed, the TOTP setup window will show.

3. Open an Authenticator App (e.g. Google Authenticator, TOTP Authenticator). Enter the Secret or scan the QR Code to create an account.

4. Enter the Validation Code and click Verify. If the verification is successful, the Set button will become clickable. Click Set to Save the setting to the VPN server.

5. VPN connection is up and the VPN client can access the remote VPN network now.

6. After the above steps, the VPN user profile on the Vigor VPN server has been configured with TOTP secret for the 2FA authentication now. When the VPN client dials up the VPN connection next time, he needs to enter the 6-digit verification code displayed in the App to complete the VPN connection.

When the VPN client device is the other Operating System:
If the remote dial-in VPN user device is not Windows or not using Smart VPN Client (Windows), we can still activate 2-FA and enter the verification code with alternative method. The steps are:
1. Access Router’s WebUI page after the VPN connection is up. Open your browser, and enter the router’s LAN IP to access the router’s WebUI page by HTTP. The Set TOTP Secret window will show.

2. Open an Authenticator App (e.g. Google Authenticator, TOTP Authenticator). Scan the QR Code or enter the secret to create an account. We will see the 6 digit verification code (changed every 30 seconds)

3. Enter the 6 digit verification code and click Verify Code.

4. Vigor Router will respond the Verify Result. When the result is successful, click Apply to Save the TOTP secret setting to Vigor Router.
.
5. Wait for few seconds, we will see the Set TOTP Secret Successfully message. That means Vigor Router has saved the TOTP Secret setting successfully.

Published On:2022-05-23
Was this helpful?
