
IPsec VPN from Windows to Vigor Router using Aggressive mode
IPsec VPN in Aggressive mode can establish between Windows and Vigor Router with peer IDs and pre-shared key by using Shrew VPN Client. This article demonstrates how to create an IPsec tunnel between Vigor Router and Windows.
Router Setup
1. Go to VPN and Remote Access >> Remote Dial-in User.
- Enable this account.
- Allow IPsec tunnel as dial-in type.
- Enable Specify Remote Node.
- Enter Peer ID.

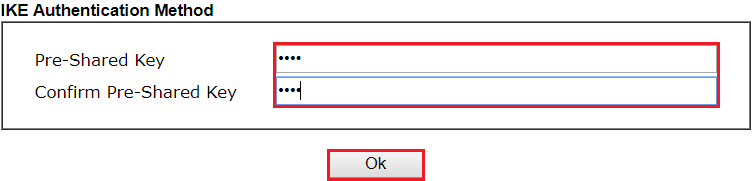
- Click IKE Pre-Shared Key.
- Enter Pre-Shared Key.
- Click OK.
- Click OK to save.
Windows Client Setup
1. Download Shrew Soft VPN Client
2. Open VPN Access Manager.
- Click Add.

- In general setup,
- Enter router domain or WAN IP as VPN Hostname or Server IP.
- Disable Auto Configuration.
- Select Using an existing adapter and current address.

- In Name Resolution setup, disable all checkbox.

- In Authentication setup,
- Select “Mutual PSK”.
- Set identification to “Fully Qualified Domain Name” for local identity.
- Enter FQDN String as peer ID.

- In Phase1 setup, select aggressive mode.
- Click Save.

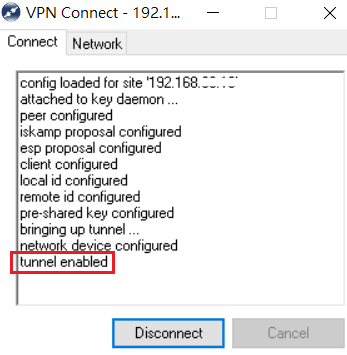
- Click the saved VPN Client and connect button to create IPSec tunnel.

Finally, VPN Connect will show the message.
Then ping remote network to trigger the VPN tunnel.

And Vigor Router shows VPN status on VPN and Remote Access >> Connection Management page.

Published On:2019-07-02
Was this helpful?